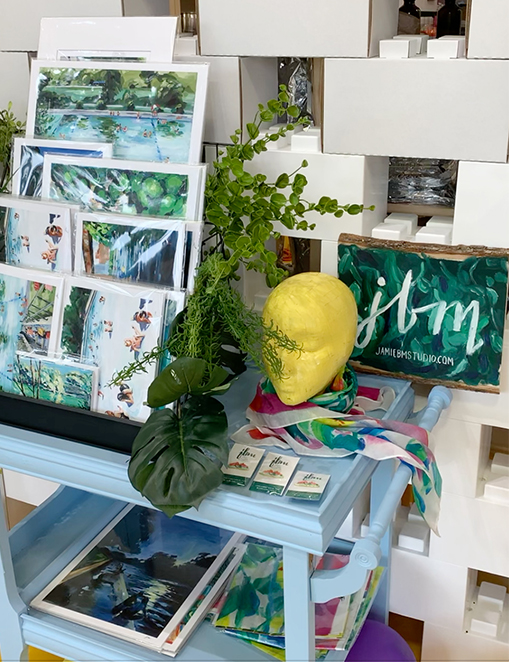
Are you familiar with local artist, Jamie McCormick? She’s a painter and mixed media artist living in Austin, TX (and our kids go to school together).
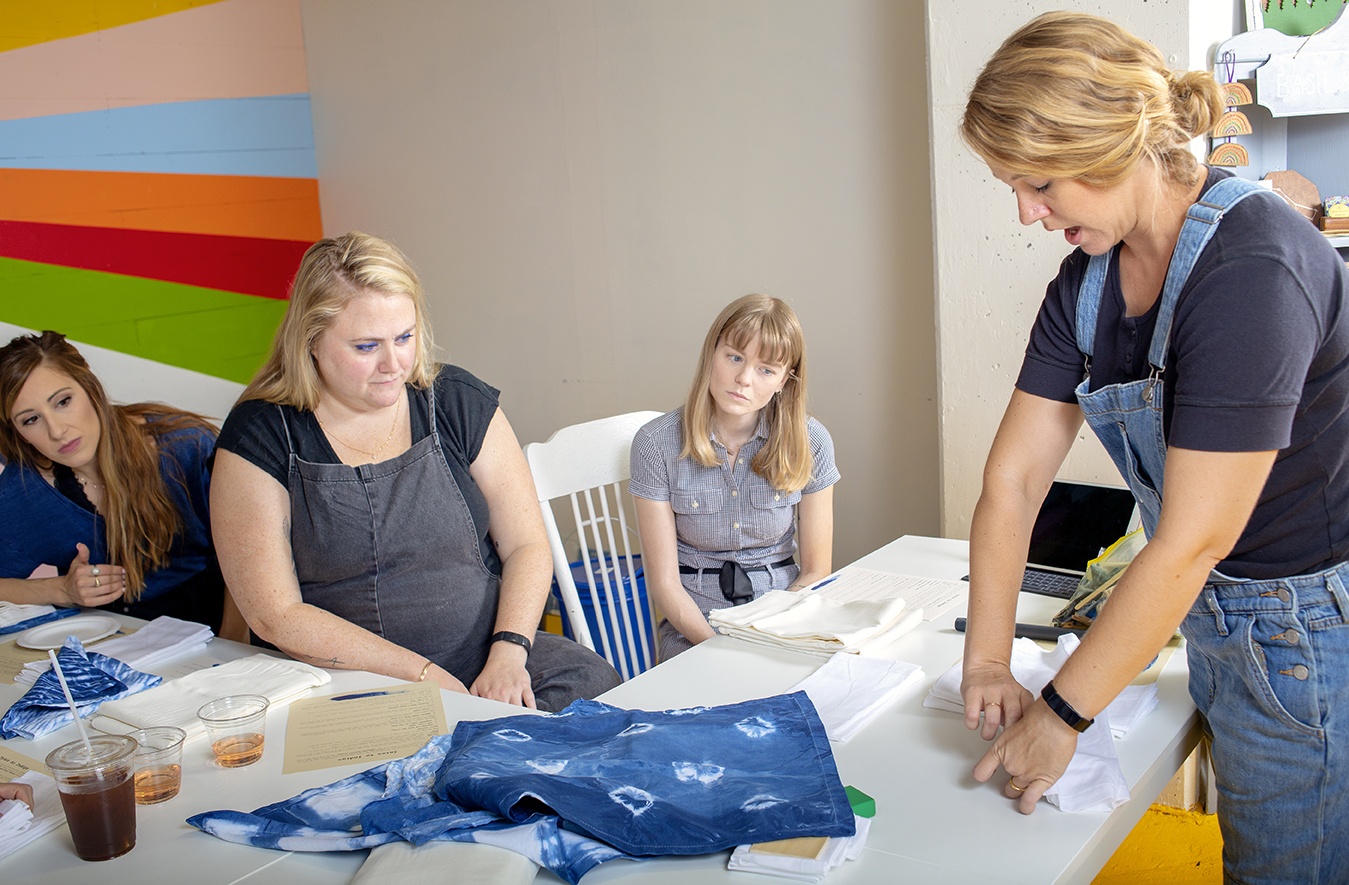
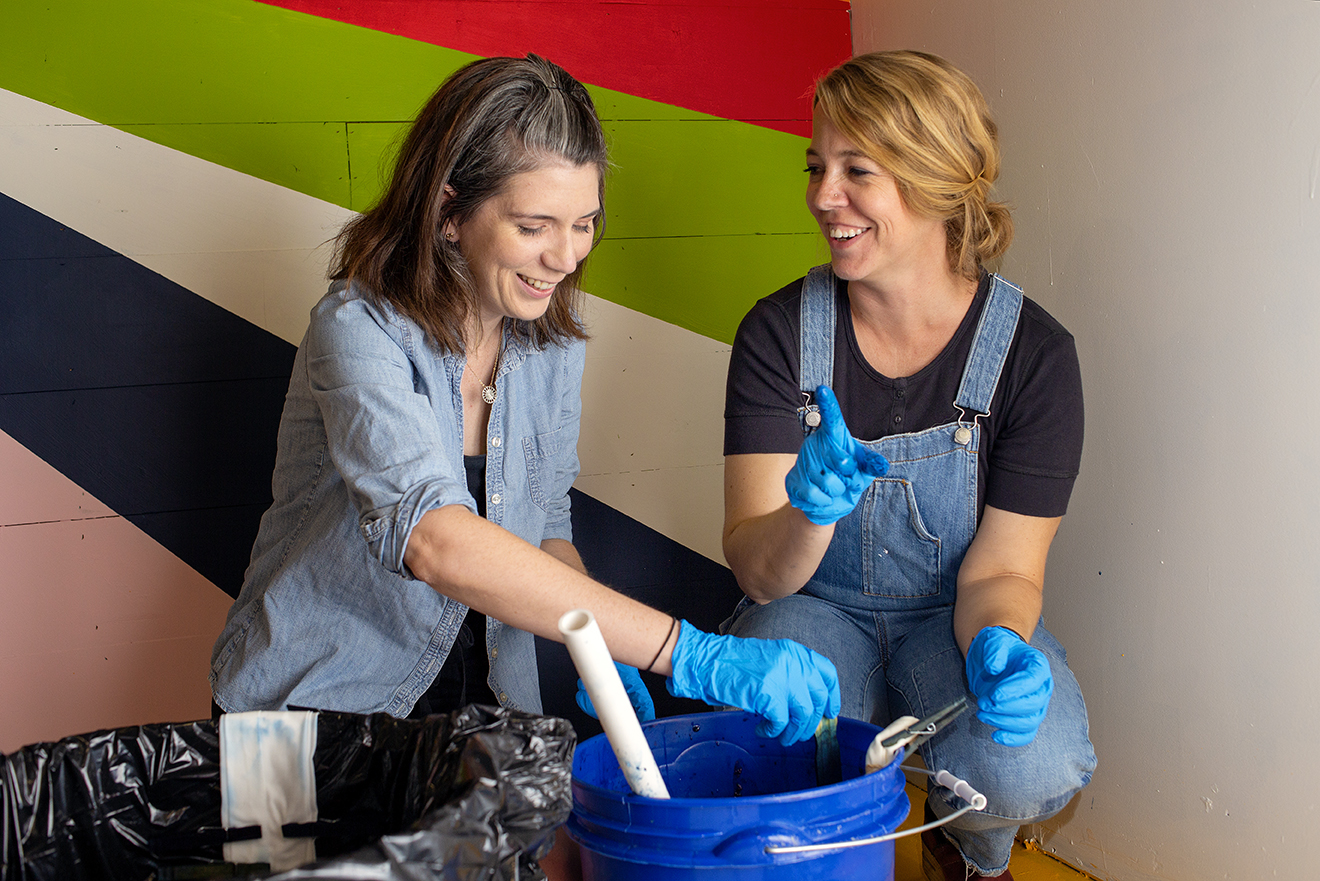
She has a collection of paintings done on indigo-dyed fabric. Recently, she offered an indigo-dying workshop held at the Gloria Collective. I attended, took pictures and also got to take home a set of dyed-napkins. (Though I feel like I should frame them rather than putting them on our dining table because I love them so much!)
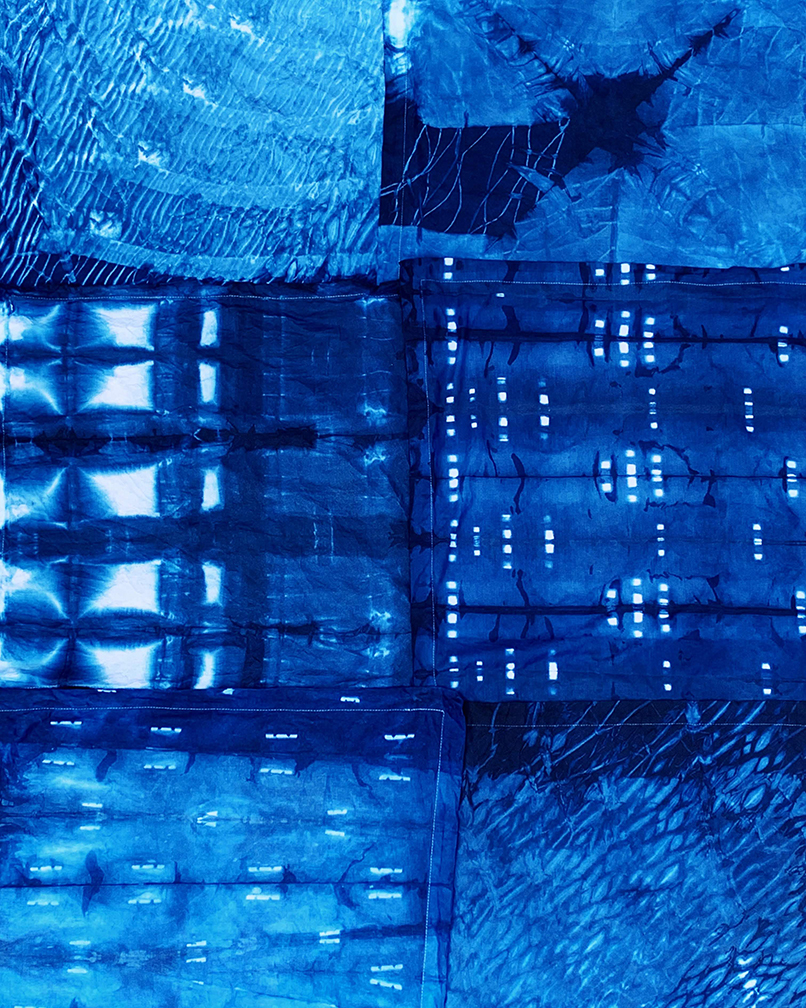
So what are the steps in dying with indigo? (I’m so glad you asked)
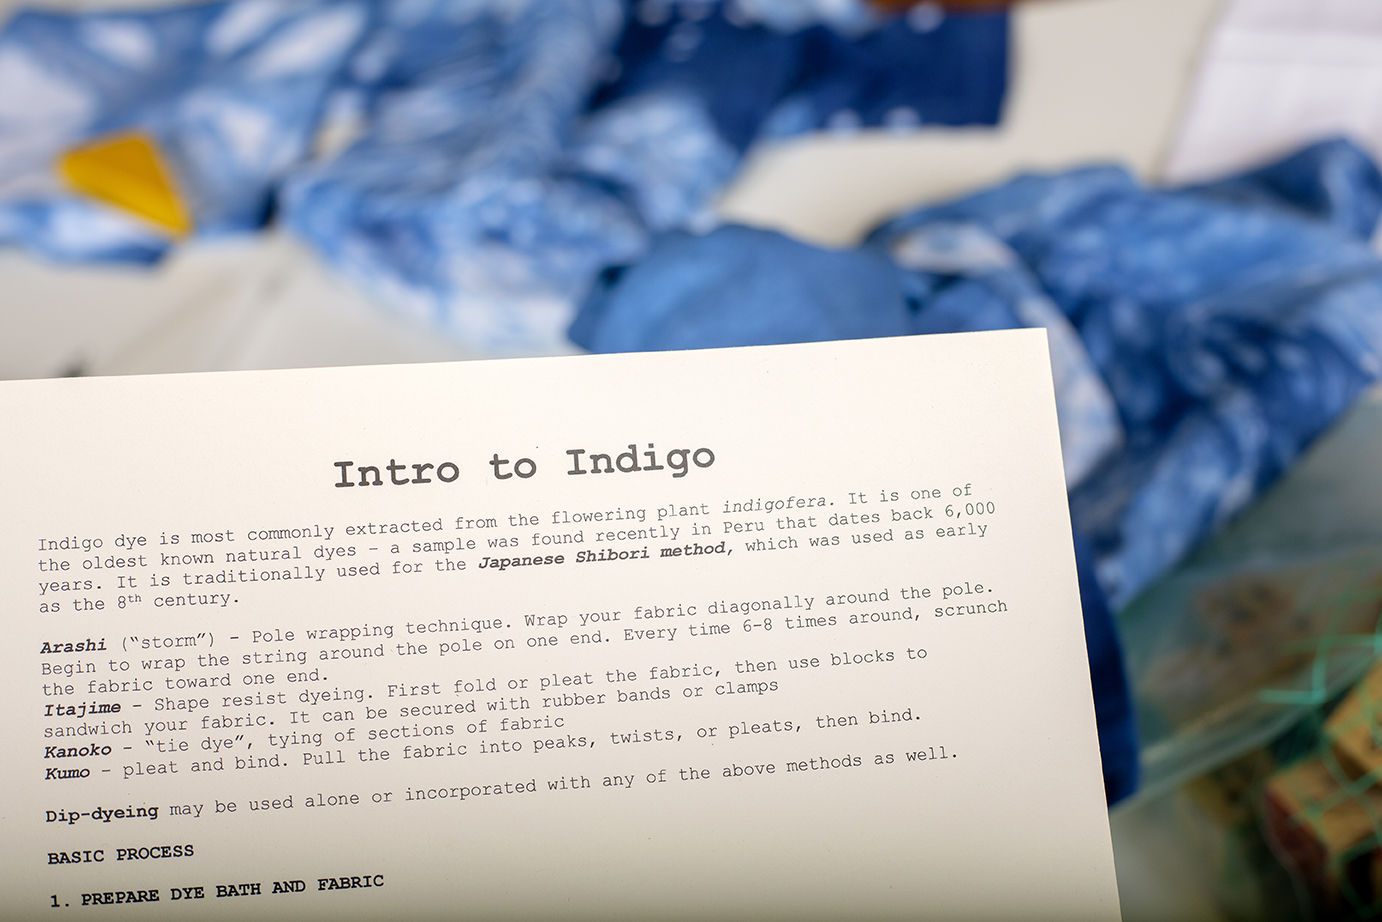
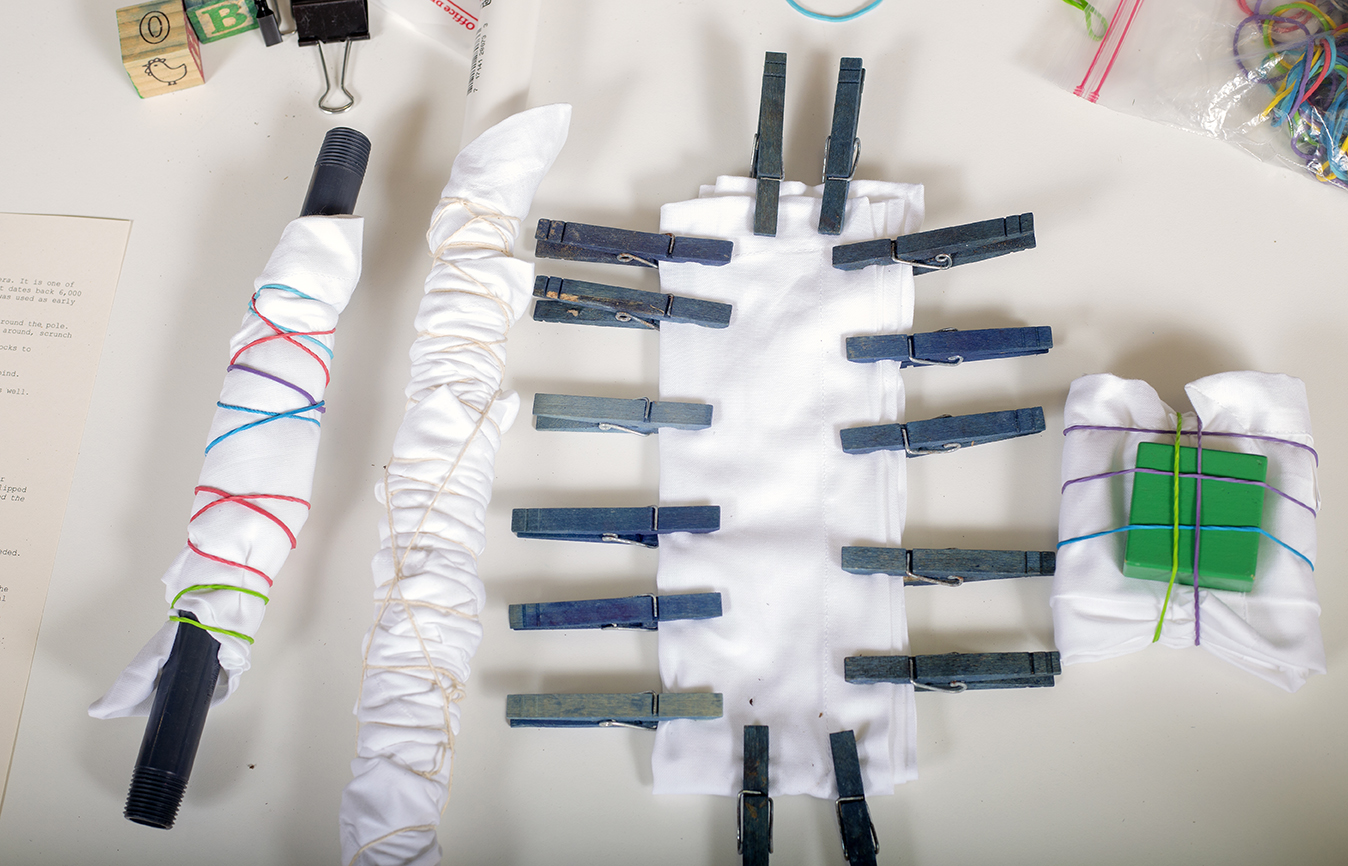
First – learn about the different wrapping / prepping techniques.
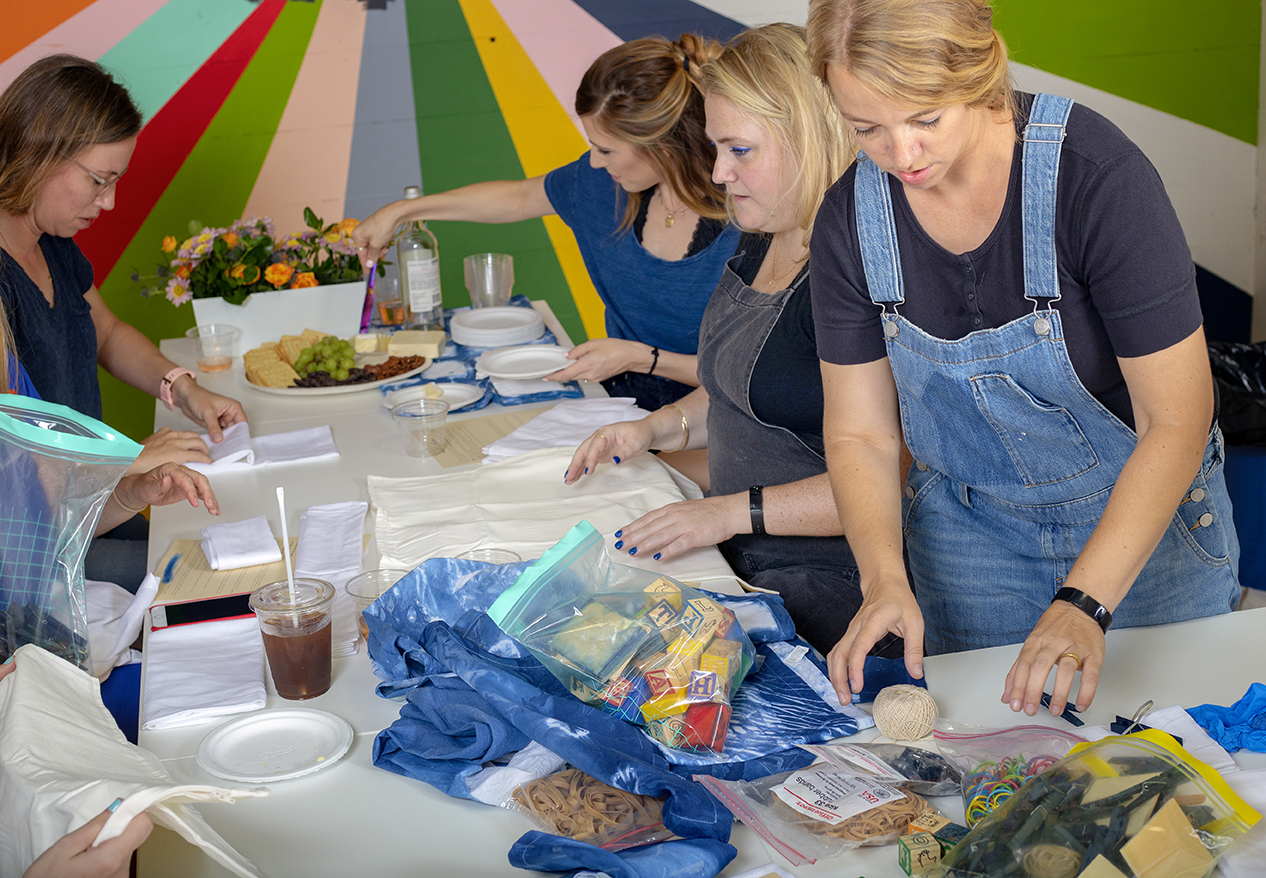
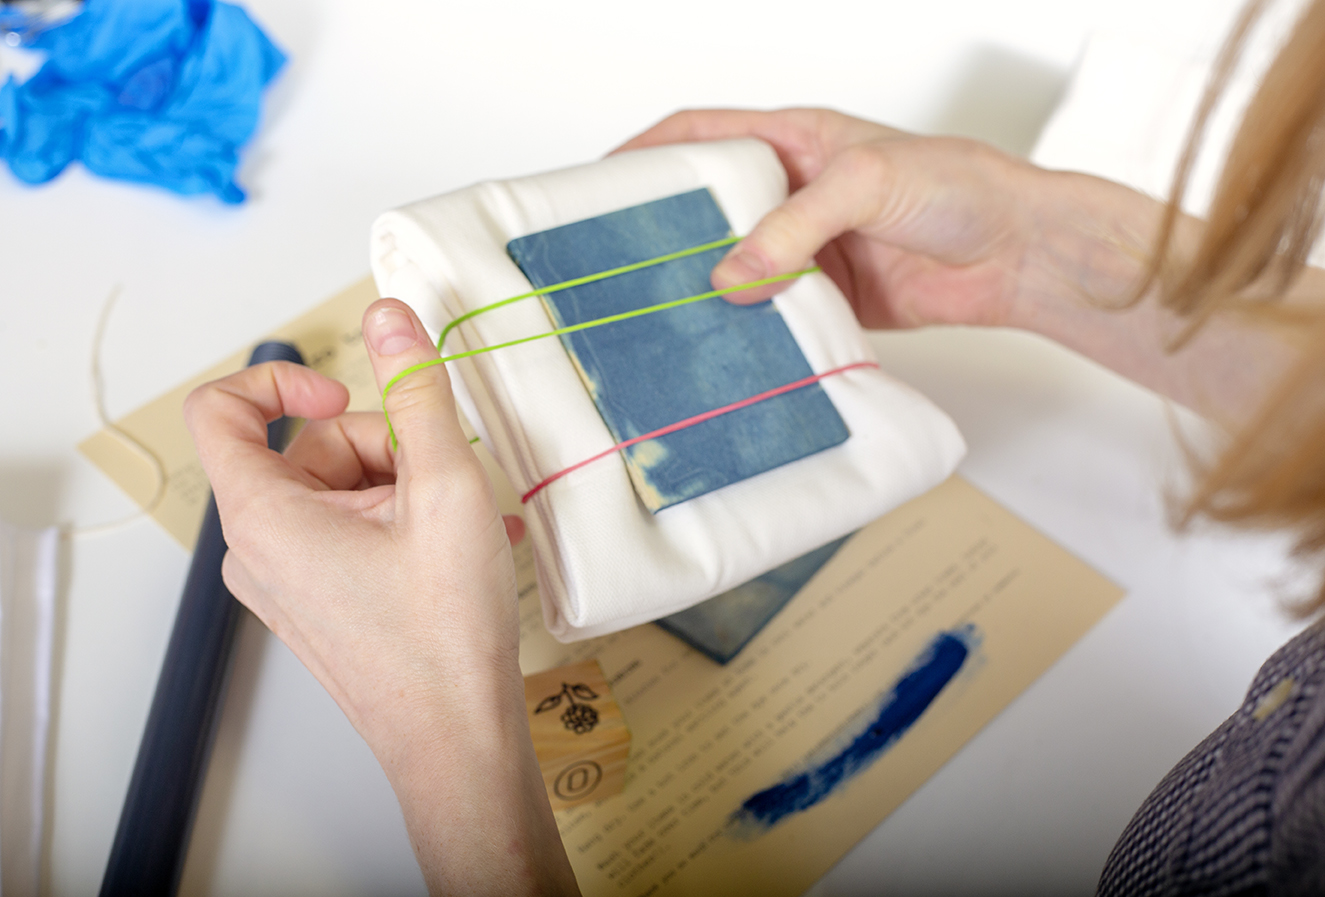
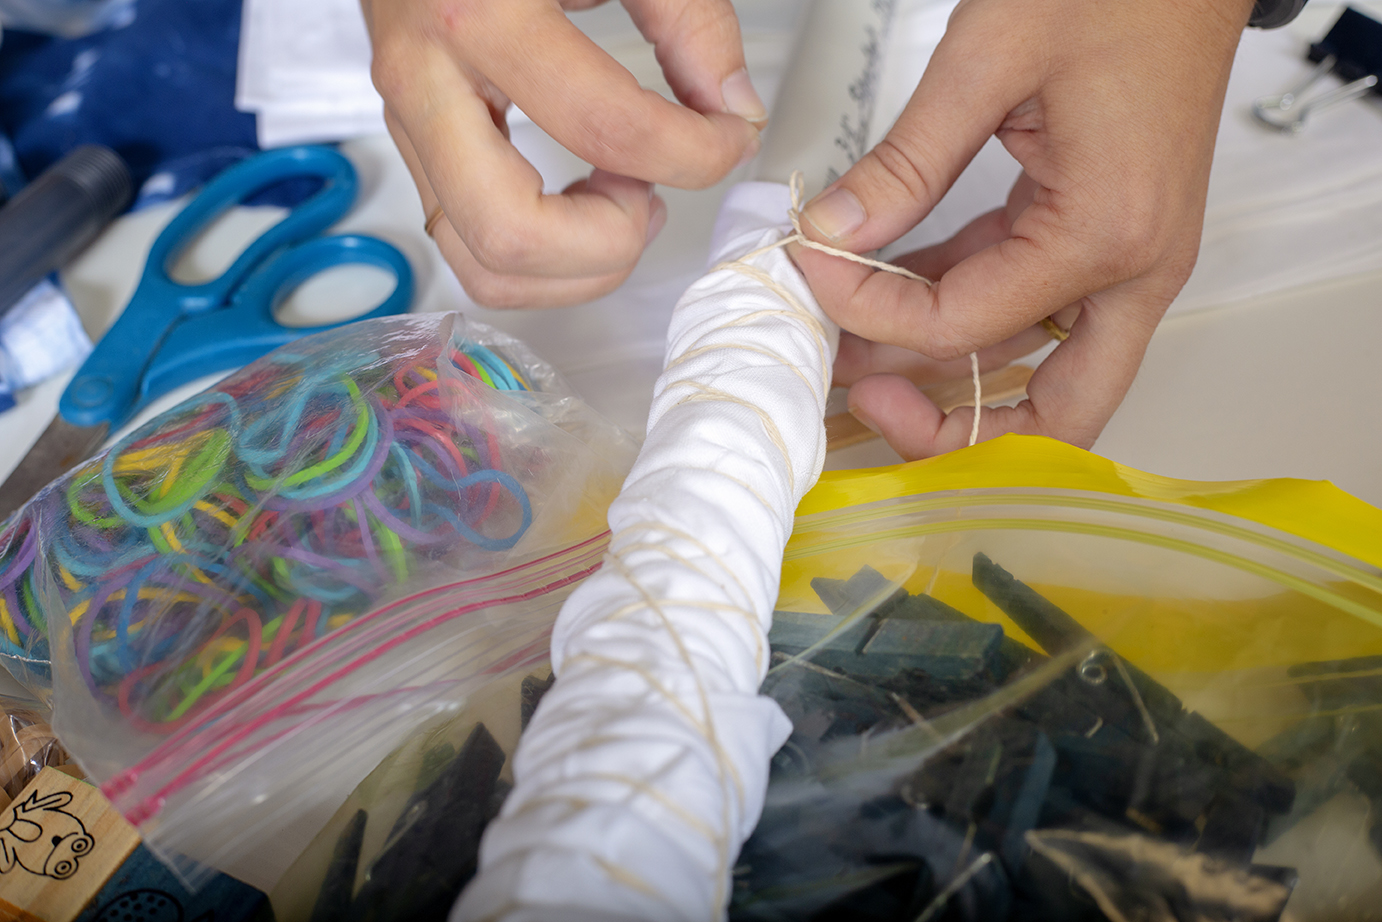
Second – prepare your fabric by wrapping, folding, pinching, etc. You can use rubber bands, clothespins, blocks and more to get different effects.
Third – dip the fabric in water.
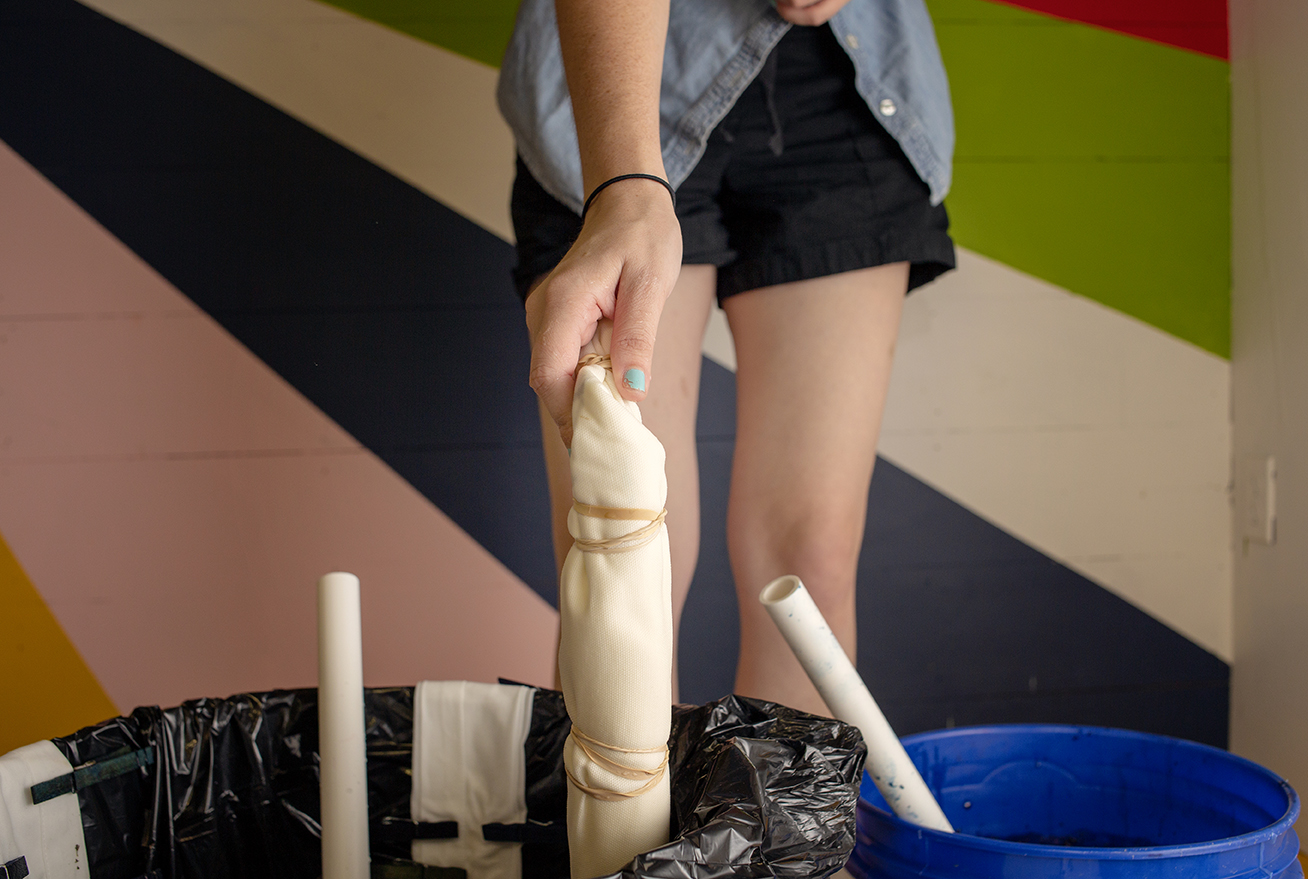
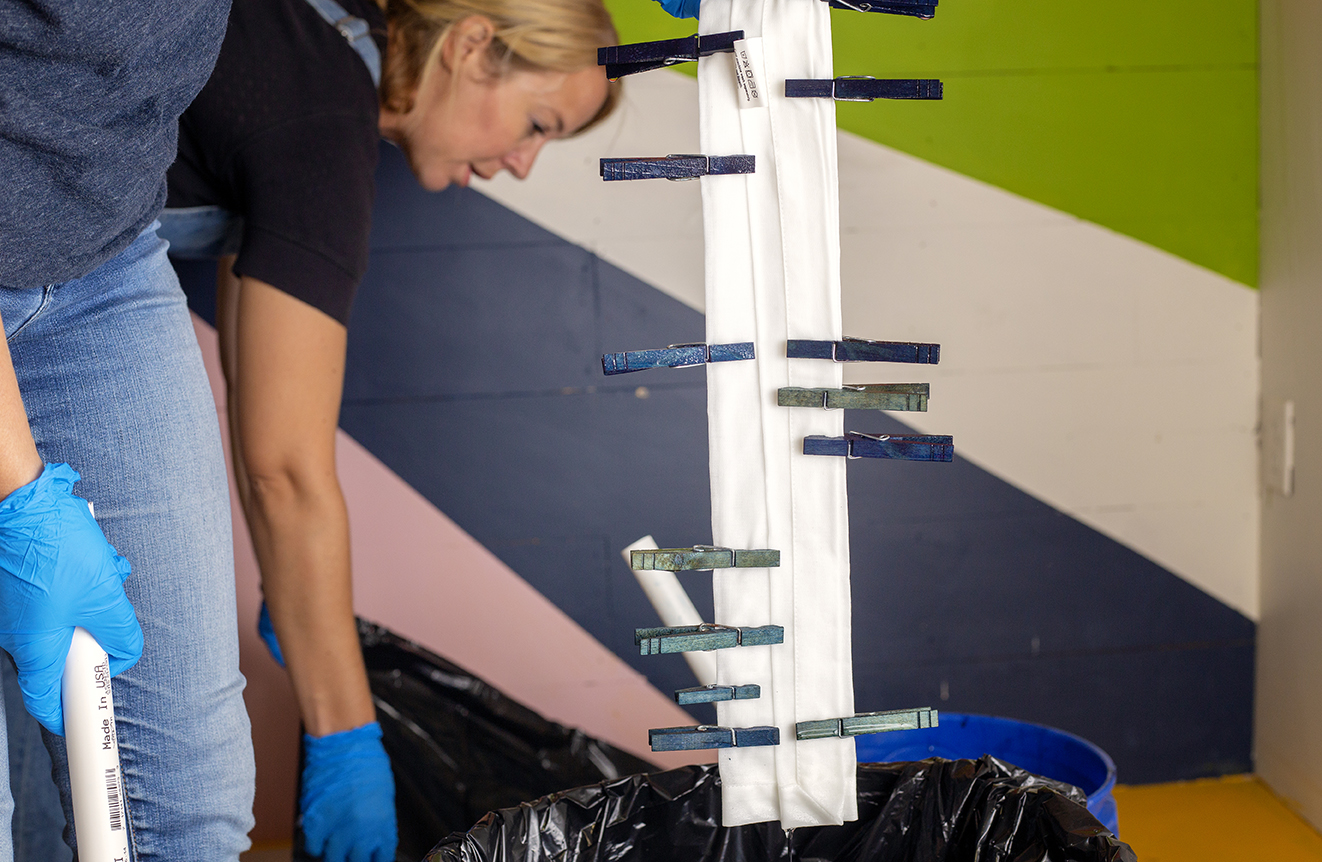
Fourth – Submerge the fabric in the indigo dye.
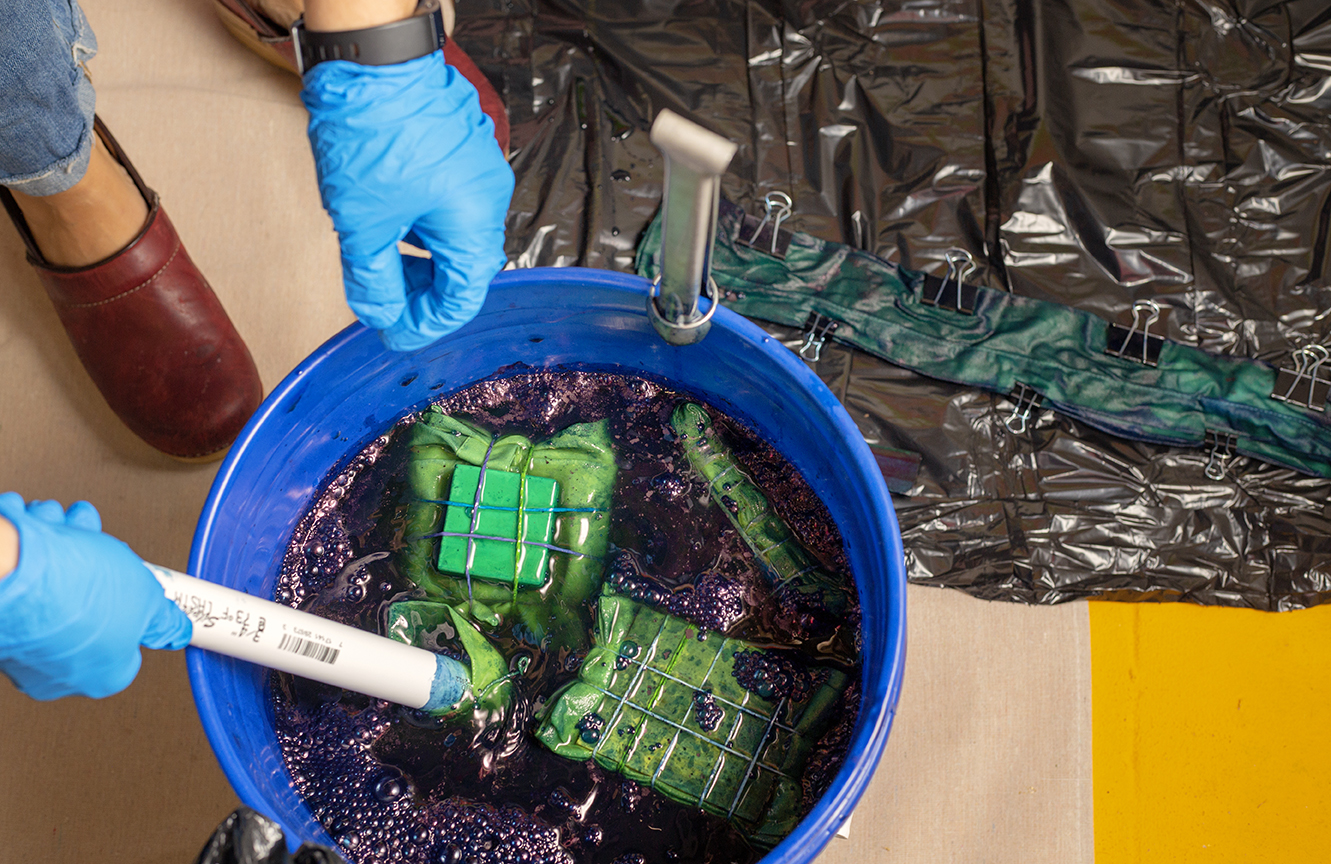
Fifth – Remove the fabric and let it oxidize. It will start out green-colored, then shift to blue. The longer you keep the fabric in the indigo dye, the darker it will be at the end of the process.
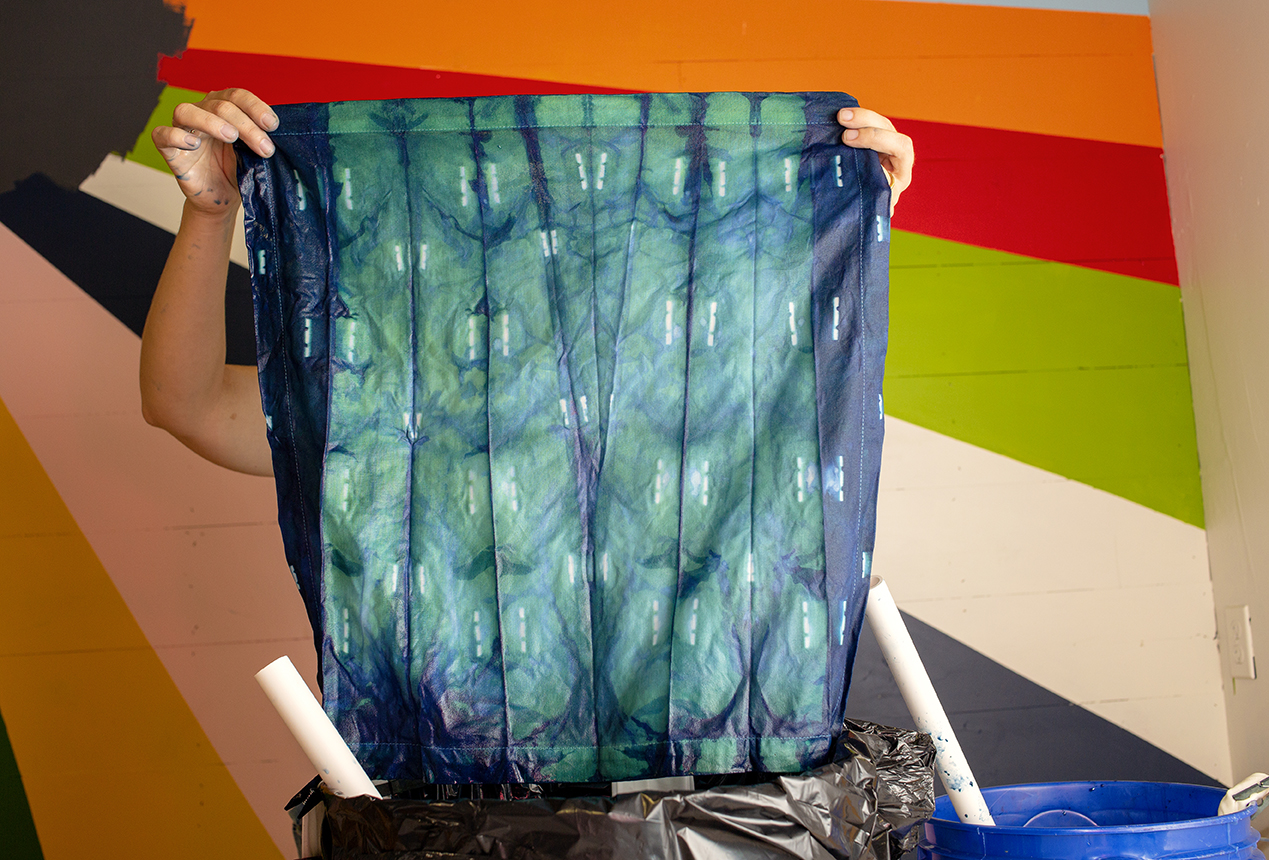
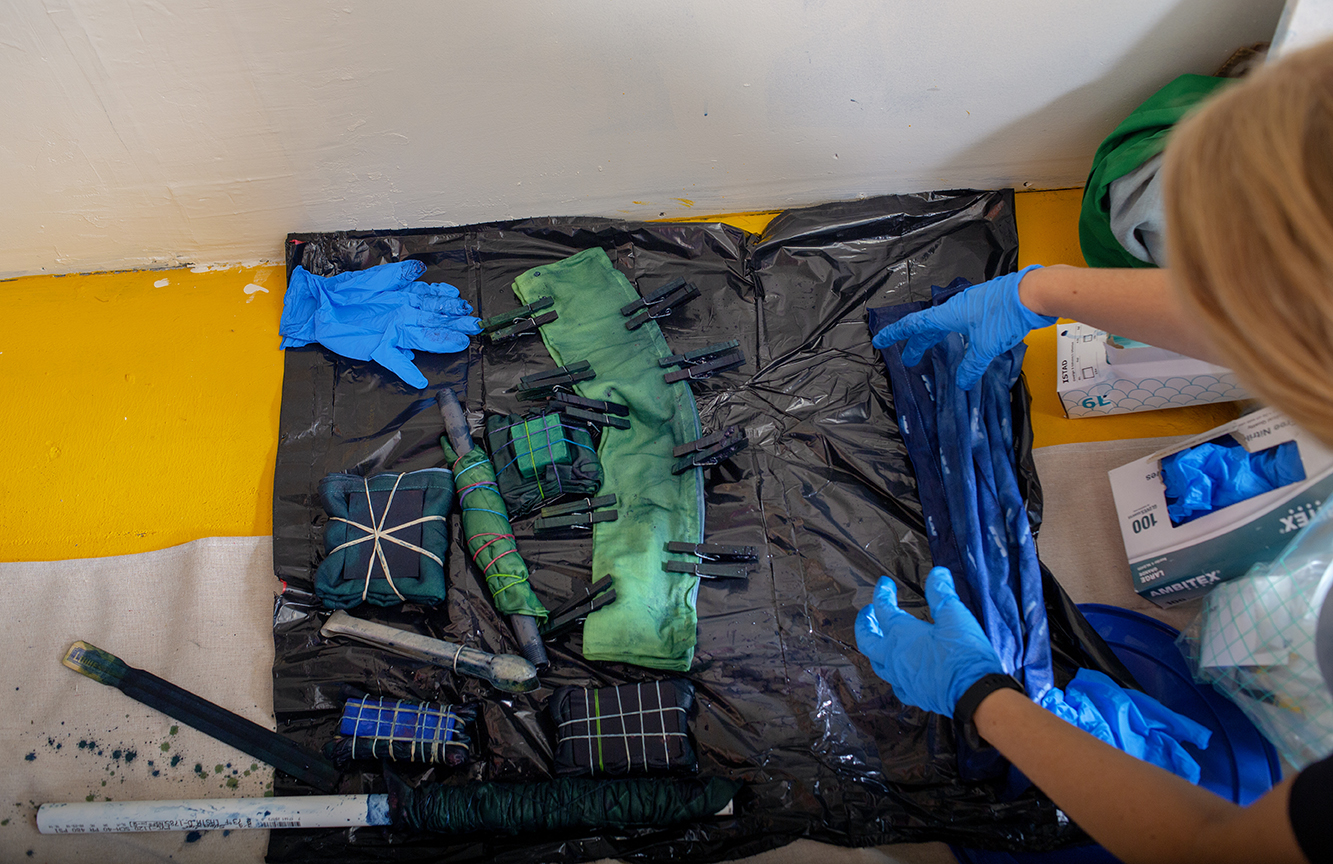
Sixth – Rinse again with water and repeat for your next piece of fabric.
Seventh – Take home your new piece of art (where you will wash it separately in cold water – perhaps even with a vinegar mix first to set the dye).
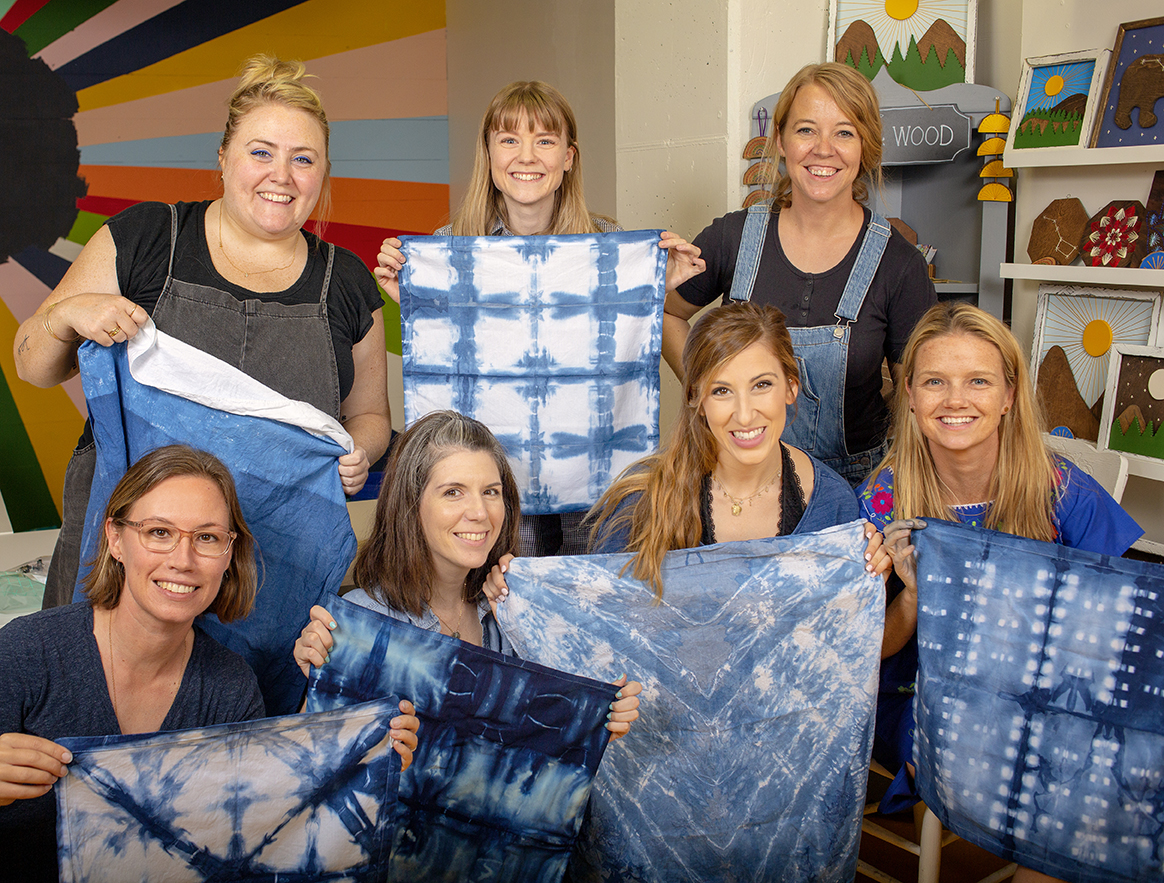
Eighth – Smile big because you love what you made 🙂
Thanks, Jamie – that was a very fun workshop!
If your business needs photo content for your website, blog or social media, I offer “Creative Business Story” packages that come in many sizes. Let’s work together. Contact me below.
